
How To Remove Car Headliner
Whether you're aiming for a complete interior makeover or addressing specific issues like sagging fabric or malfunctioning accessories, understanding the intricacies of car headliner removal is indispensable. Before diving into the process, it's essential to inspect the headliner thoroughly to assess the extent of the task ahead. This inspection allows you to identify potential challenges such as hidden screws or clips and develop a strategic plan to tackle them effectively. Utilizing the transcript for details can offer invaluable insights into the specific locations of these hidden fasteners, saving you time and frustration during the removal process.
Additionally, when embarking on the journey of headliner removal, it's crucial to prioritize safety and precision. Taking the time to disconnect the car battery beforehand can prevent accidental electrical mishaps while working near wires and components. Furthermore, exercising caution when handling trim panels and delicate headliner material minimizes the risk of
causing damage to the interior surfaces. By adhering to these safety measures and leveraging the guidance provided by the transcript, you can navigate the intricacies of car headliner removal with confidence and ensure a successful outcome for your DIY project.

8 Ways to Remove Your Car's Headliner
1. Gather Your Tools
Before commencing the headliner removal process, it's prudent to gather all the essential tools and materials to streamline the task. Trim panels play a pivotal role in accessing various components of the headliner and must be handled with care to avoid damage. Opt for a trim removal tool designed to pry off panels without leaving unsightly marks or scratches on the surrounding surfaces.
Lightweight sandpaper serves as a versatile tool for tackling stubborn adhesive or smoothing out rough surfaces on the headliner board. Pair it with a bristle brush to gently remove any accumulated debris or residue, ensuring optimal adhesion when installing the new fabric. When selecting adhesive for the headliner replacement, opt for a high-quality product specifically formulated for automotive use to ensure long-lasting results. Depending on the complexity of the replacement, having access to a flat work surface may be beneficial for laying out the headliner material and applying adhesive evenly. By equipping yourself with these essential tools and materials, you'll be well-prepared to tackle the headliner removal process with confidence and precision. Don't let a sagging headliner ruin your car's aesthetics. Schedule a roof lining replacement with SYD Blind today!
2. Prepare Your Workspace
Before you start the headliner removal procedure, it's crucial to create an optimal working environment to facilitate the task. Parking your car in a well-lit area ensures visibility, allowing you to spot hidden screws or clips and work with precision. Rolling down the windows not only provides ventilation but also prevents the accumulation of fumes from any adhesive or cleaning products used during the process. Additionally, natural light enhances visibility, making it easier to inspect the headliner and assess the condition of the surrounding components.
As you prepare to embark on the headliner removal journey, take a moment to declutter the interior space of your car. Remove any personal belongings, including loose items in the glove compartment or center console, to create ample workspace. This not only minimizes the risk of damaging your belongings but also ensures unrestricted access to the headliner. Furthermore, having sufficient space to maneuver around the vehicle enhances efficiency and reduces the likelihood of accidental bumps or scratches. By prioritizing these preparatory steps and utilizing the available space wisely, you set the stage for a smooth and successful headliner removal process.
3. Remove the Trim Panels
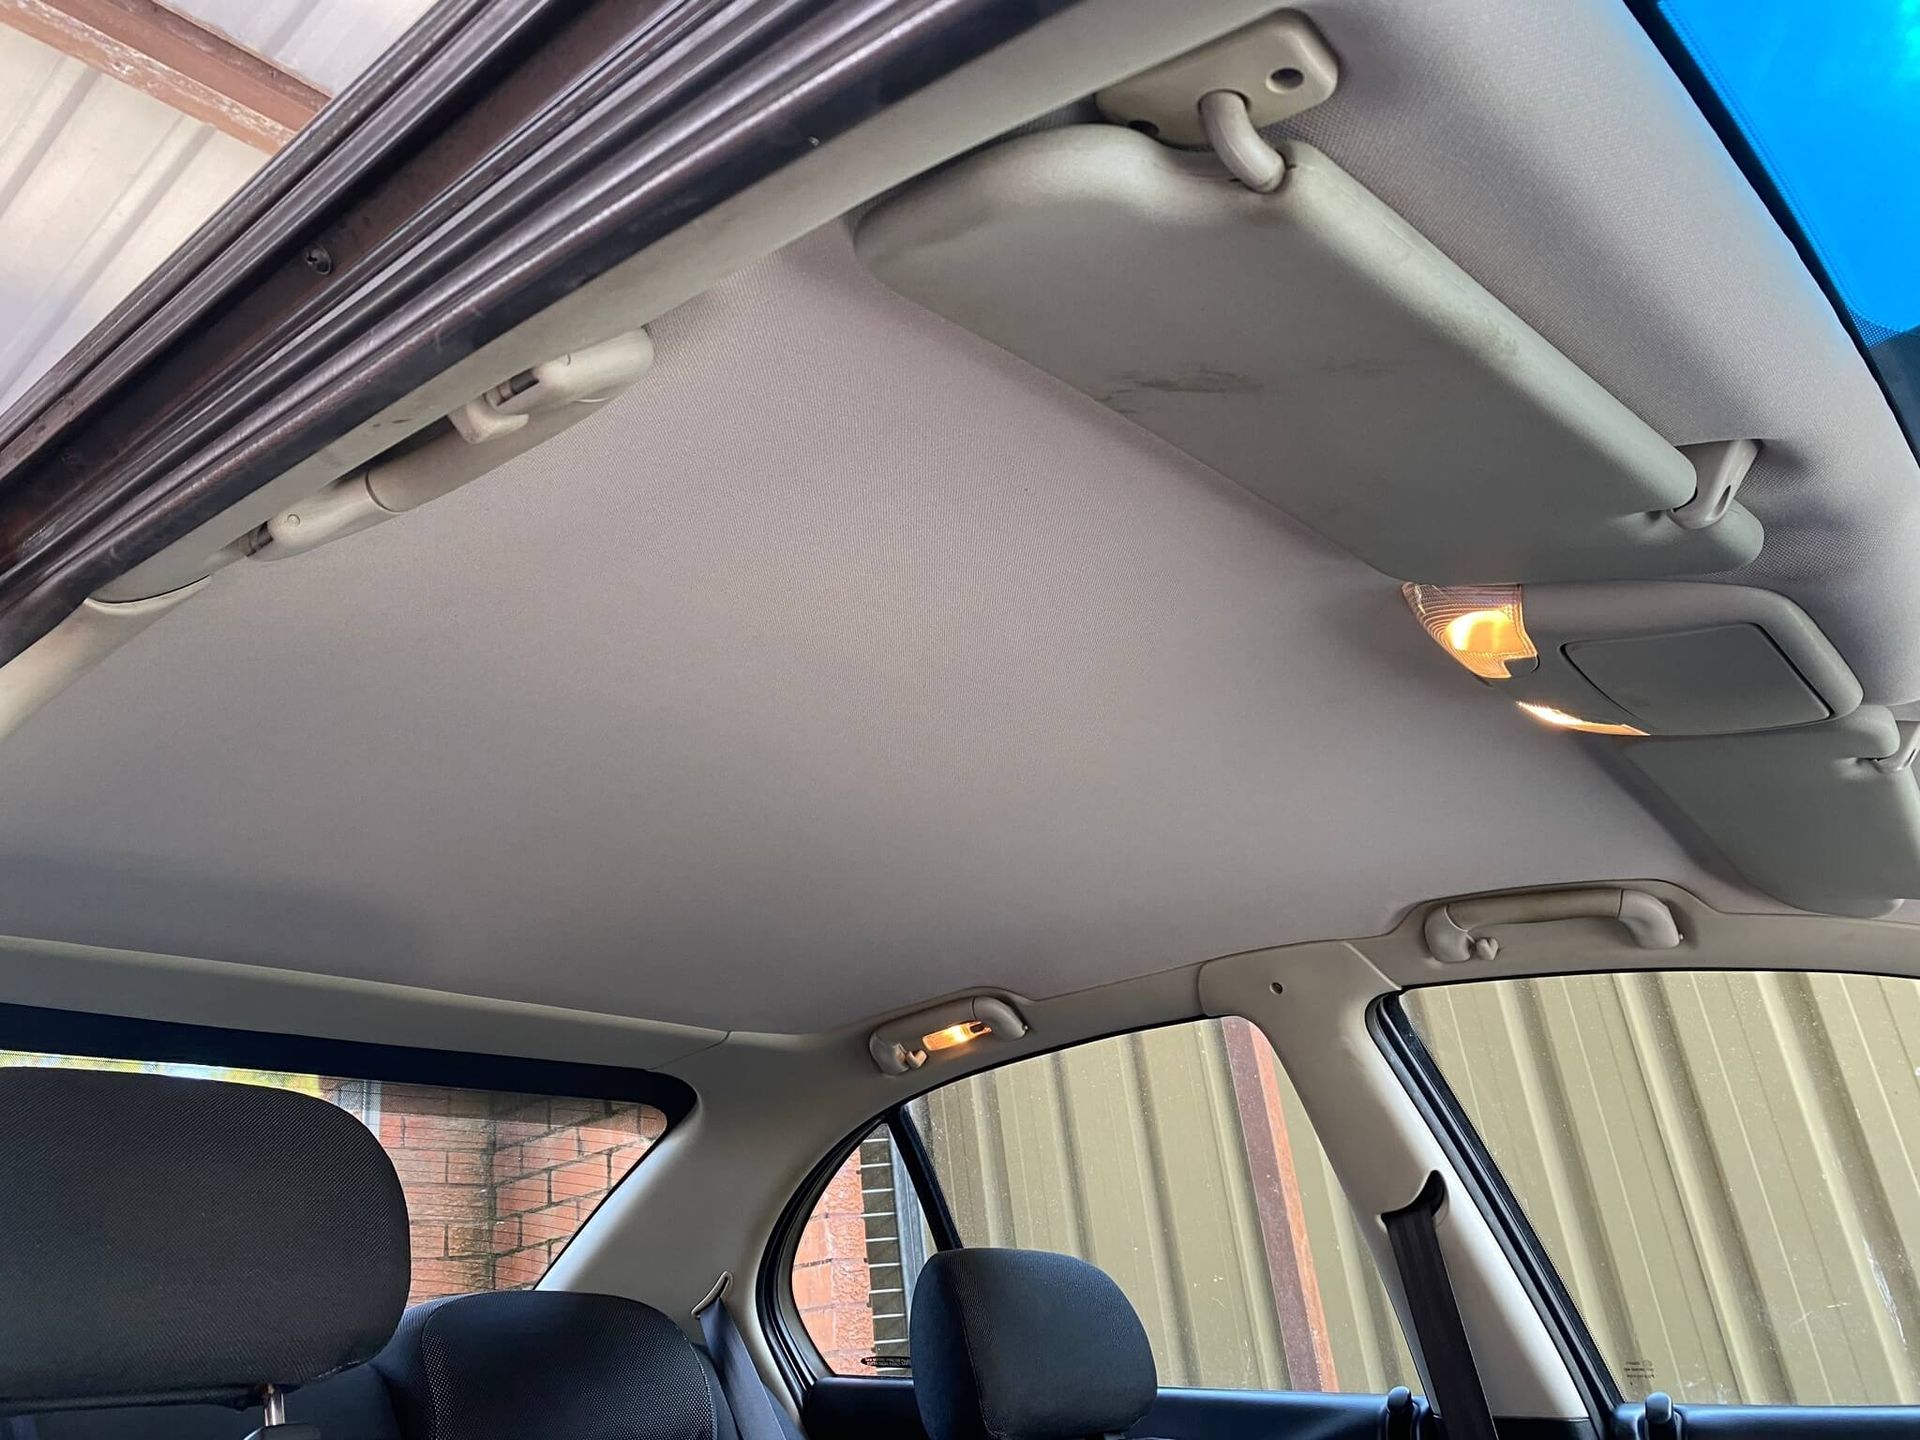
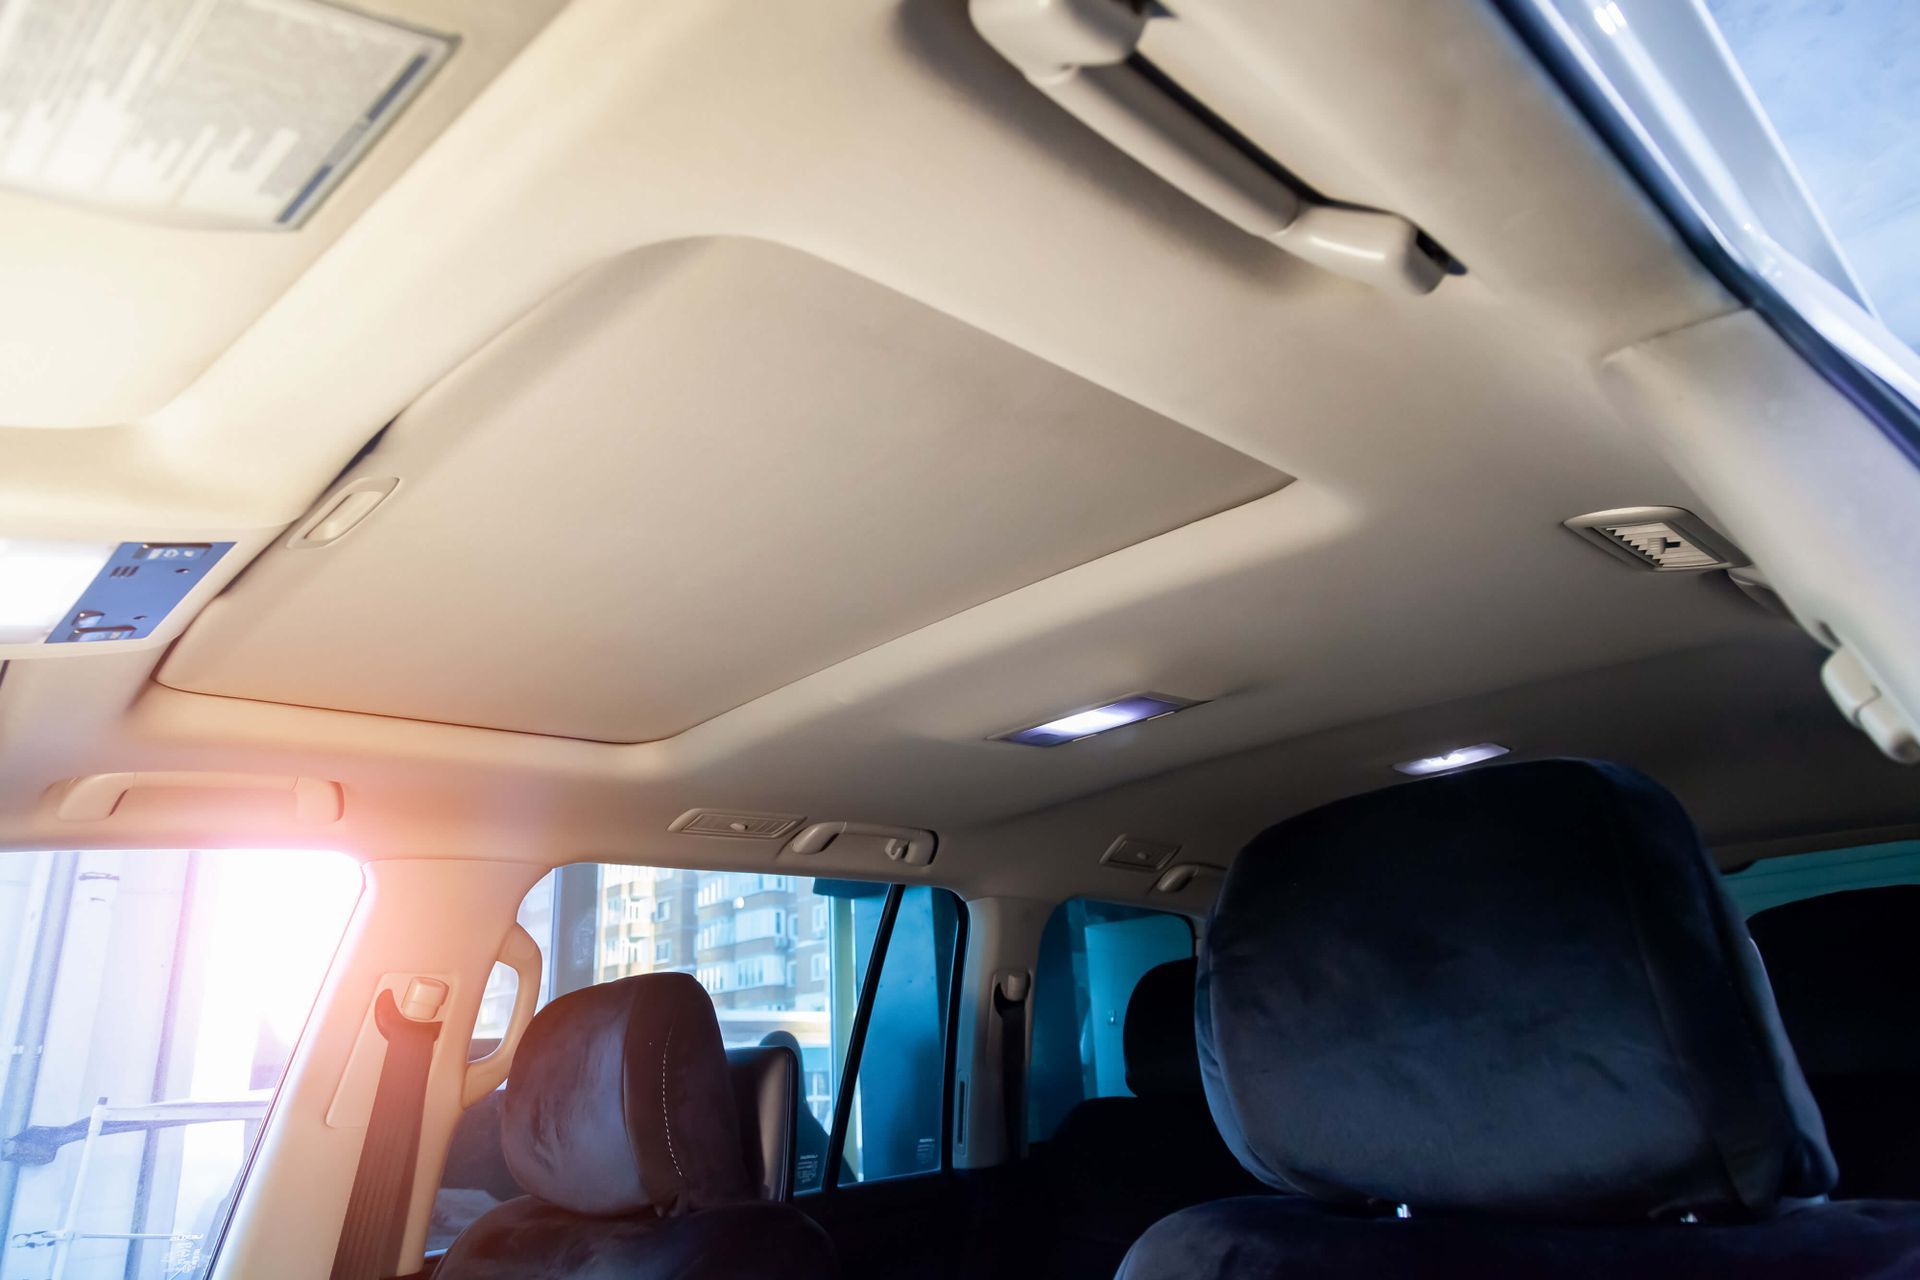
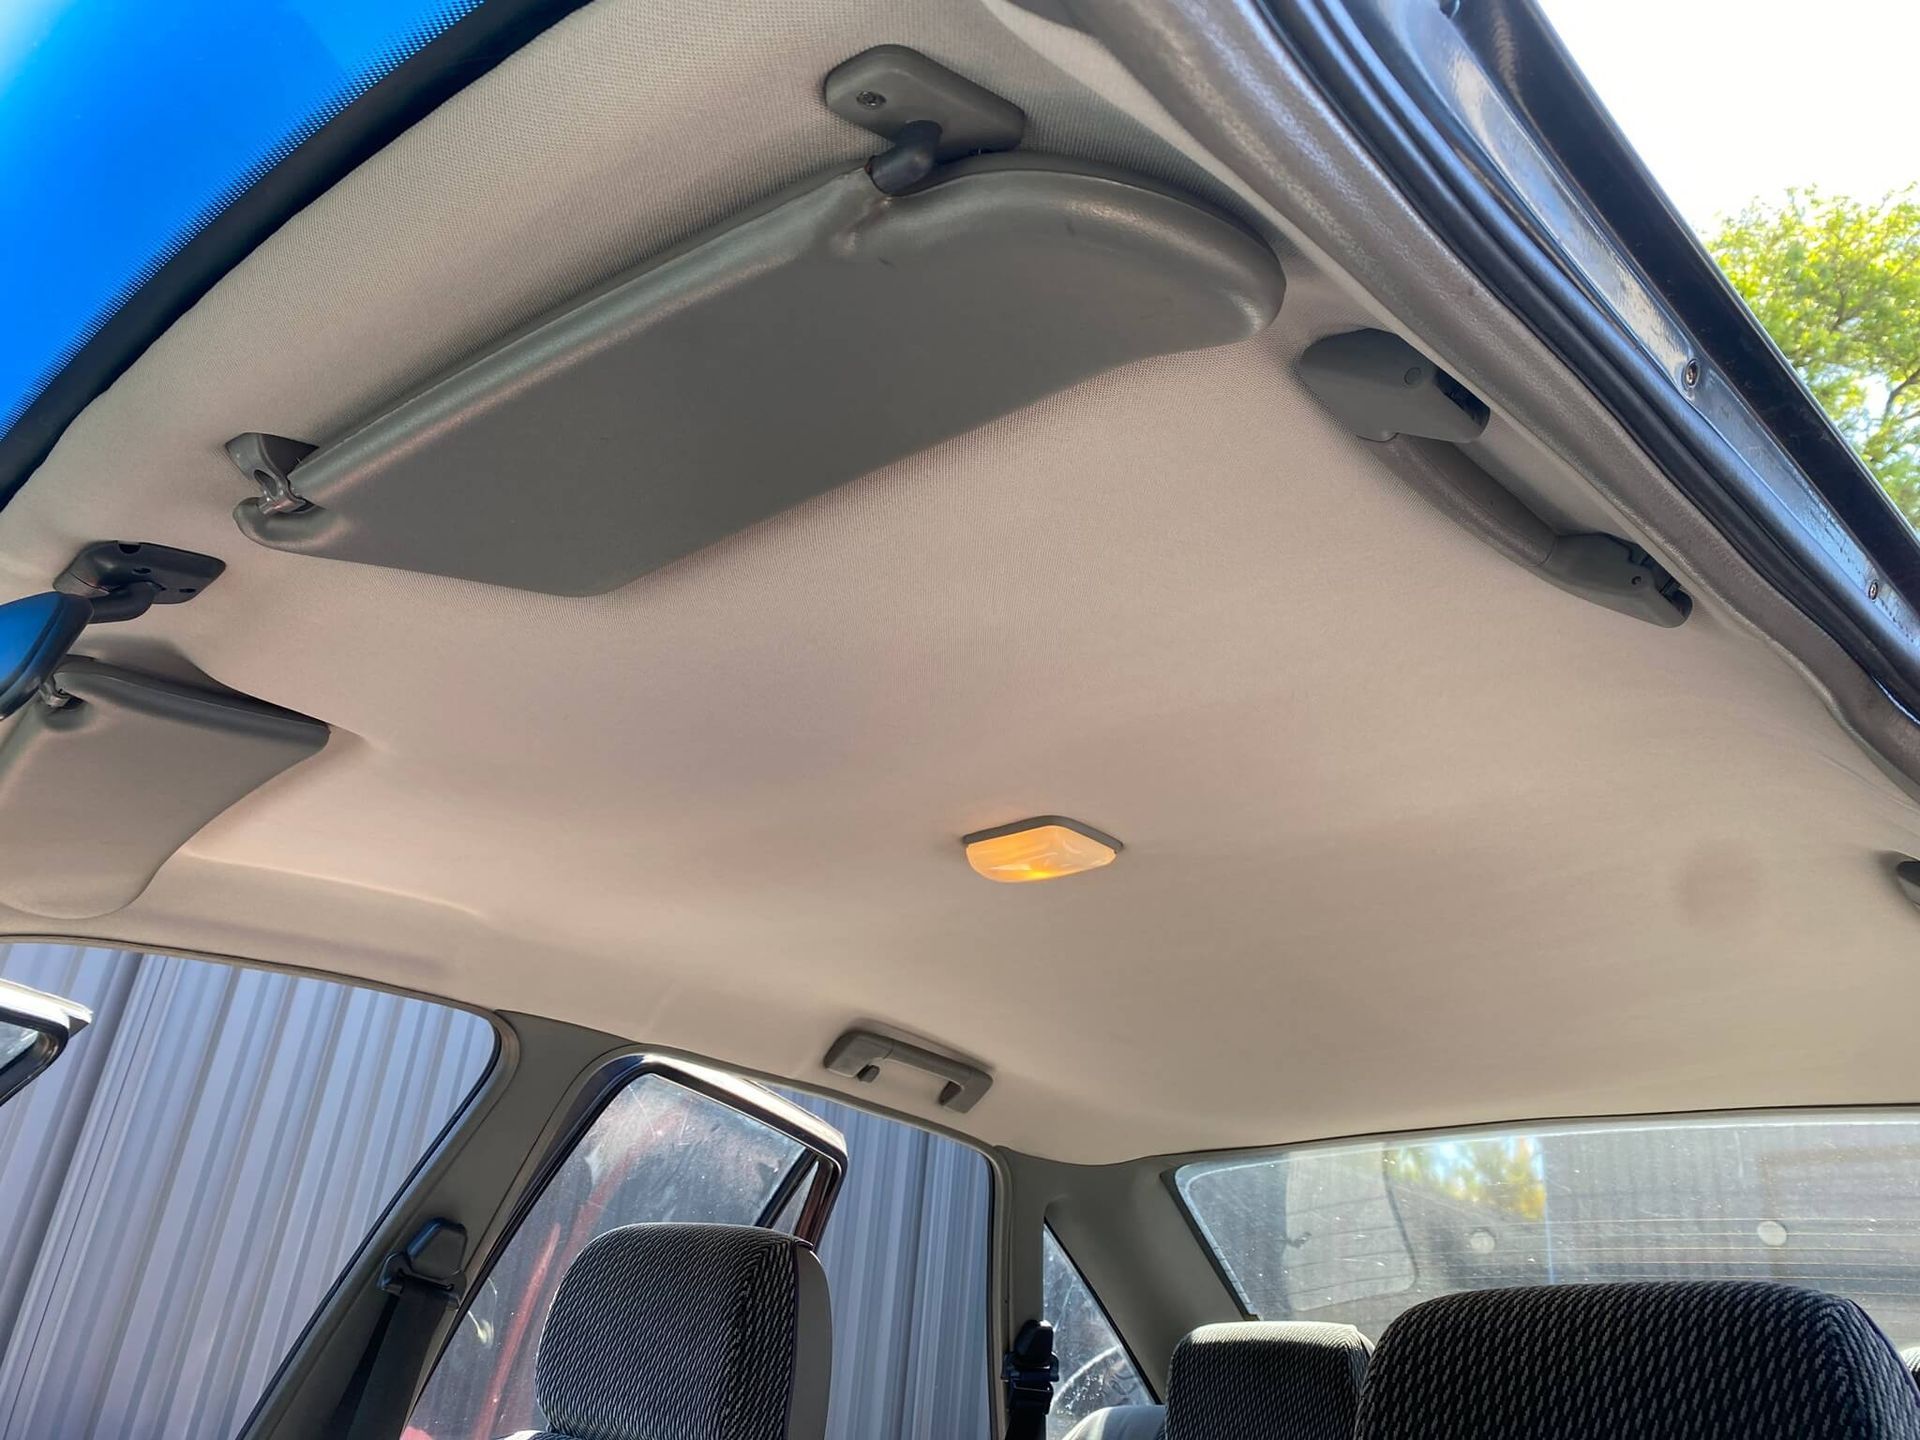
Embarking on the headliner removal process entails systematically disassembling the interior trim panels to access the headliner securely nestled above. Begin by carefully inspecting and identifying all the trim panels that encase the headliner. These panels are often situated around critical components such as the sun visors, seat belts, and grab handles. Additionally, be attentive to any other accessories or fixtures that may be attached to the headliner, such as overhead lights or speakers. Utilizing a specialized trim removal tool is essential for this step, as it allows for precise and controlled detachment of the panels without marring the surrounding surfaces or causing undue strain on the attachments.
Once you've identified the target trim panels, approach each one methodically, applying gentle pressure with the trim removal tool to pry them away from their mounting points. Exercise caution and patience to avoid rushing through this step, as some panels may be secured more firmly than others. Take note of any fasteners or clips securing the panels in place and carefully disengage them to ensure a smooth removal process. By systematically working through each trim panel and utilizing the appropriate tools, you can navigate this phase of the headliner removal process with confidence and precision, setting the stage for the subsequent steps with ease and efficiency.
4. Take Down the Headliner Fabric
As you prepare to detach the headliner from the headliner board, exercise caution and patience to ensure a smooth removal process. Start by gently peeling away the fabric from one corner of the headliner board, taking care to avoid tearing or stretching it excessively. Work gradually across the surface, using your fingertips to loosen any adhesive or foam backing that may be adhering the fabric to the board. A slow and steady approach minimizes the risk of damaging the fabric or leaving behind residue on the board.
In instances where the headliner material is heavily glued or stubbornly adhered to the board, employing a bristle brush can aid in dislodging any excess fabric or foam. Use gentle circular motions to agitate the surface and gradually loosen the adhesive bond. For particularly stubborn areas, incorporating light sandpaper can provide additional assistance in softening the glue and facilitating the peeling process. Be mindful not to apply excessive pressure or abrasive force, as this can damage the underlying board or compromise the integrity of the fabric. By combining these techniques and utilizing the appropriate tools, you can effectively remove the headliner fabric from the headliner board with precision and care, preparing it for the next steps in the replacement process.
5. Detach the Headliner Board
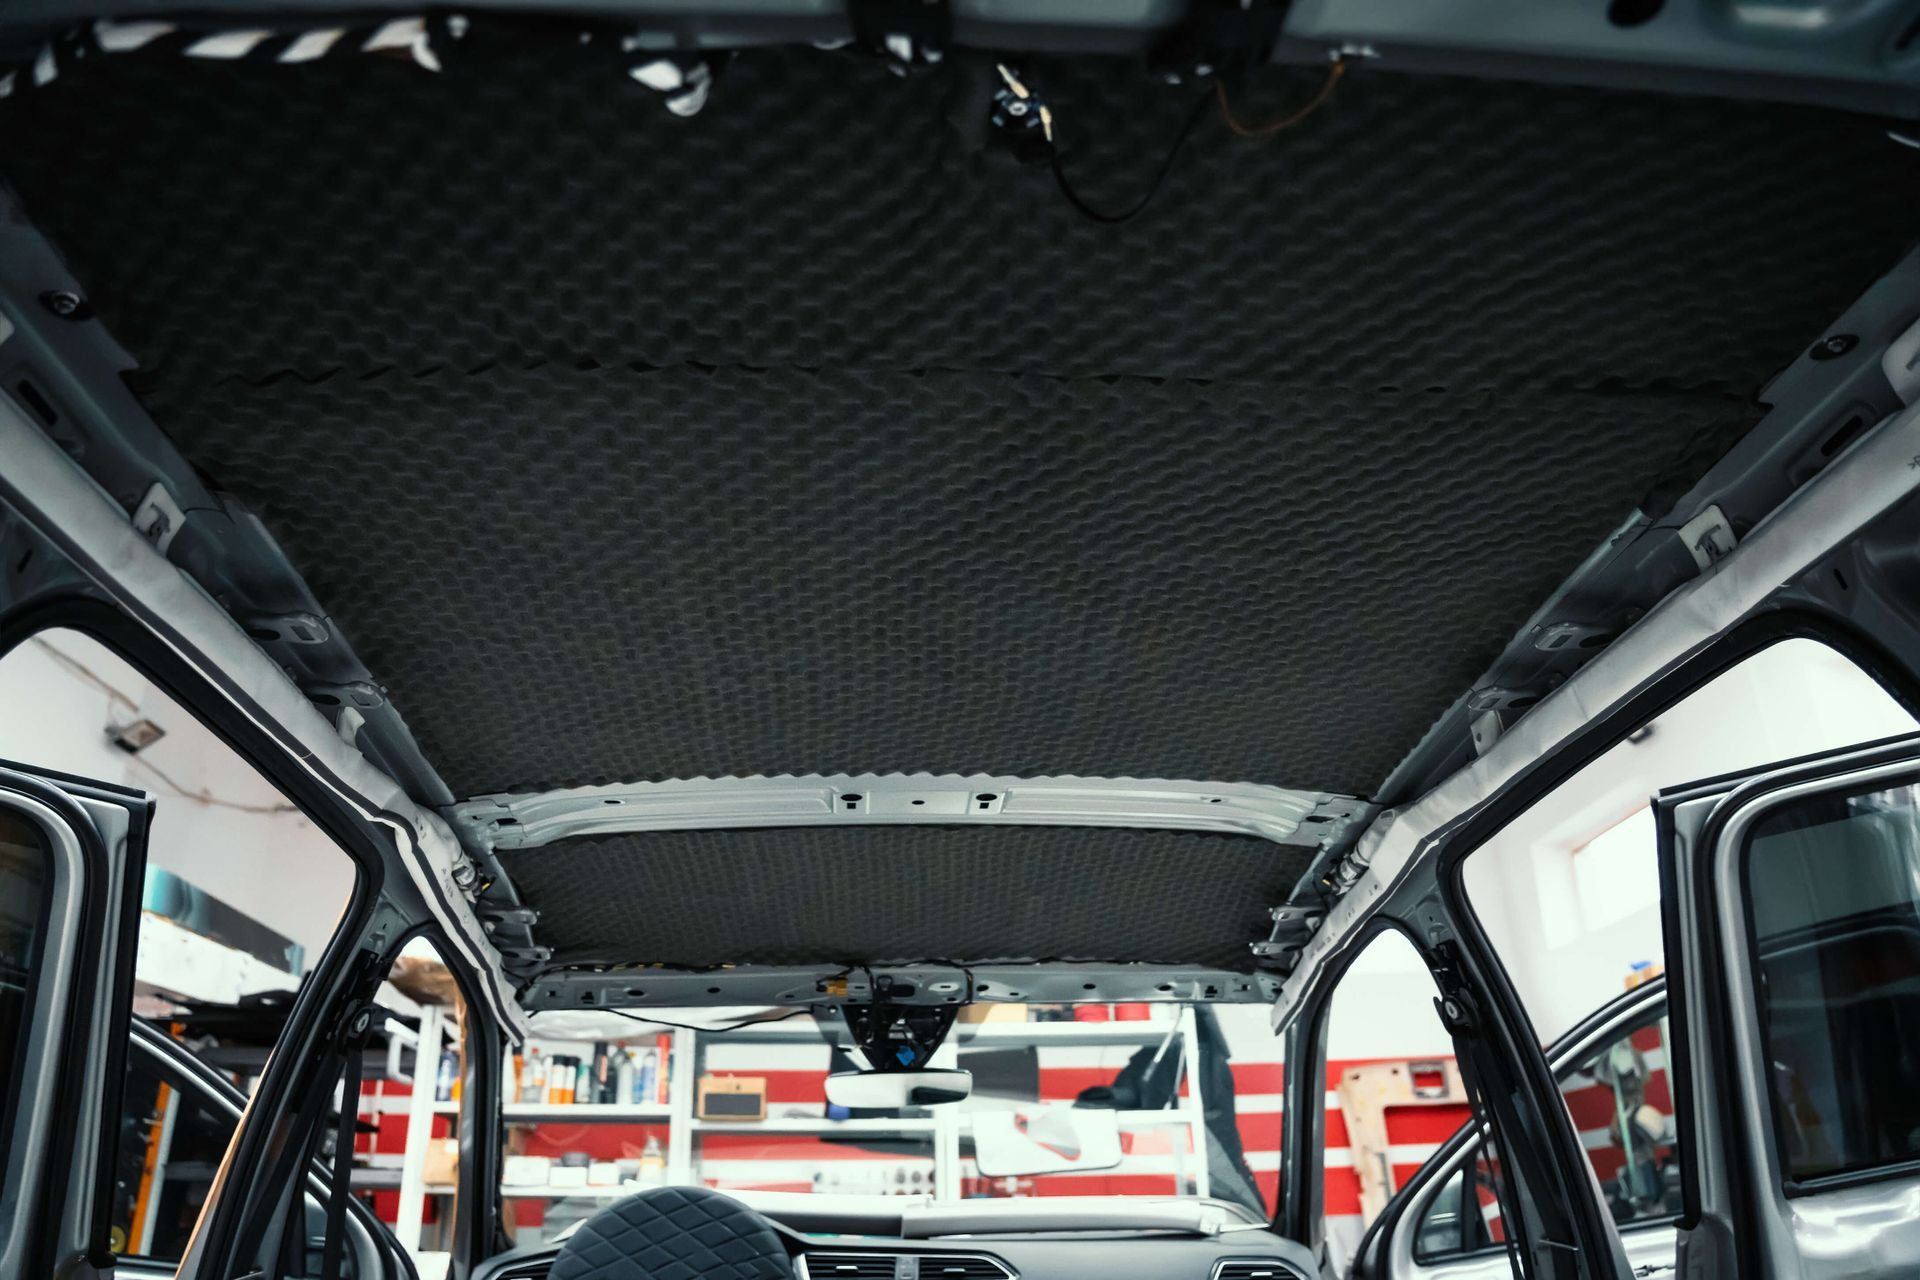
With the headliner fabric successfully removed, the next step is to disengage the headliner board from its mounting points within the vehicle's interior. Begin by meticulously inspecting the perimeter of the headliner board to locate the screws or clips securing it in place. These fasteners are typically positioned strategically along the edges of the board and may be concealed by trim panels or other components. Utilizing a flashlight or overhead light source can aid in illuminating these fasteners, making them easier to identify.
Once the screws or clips are located, proceed to unscrew or unclip them carefully, ensuring a steady and controlled release of the headliner board. Exercise caution during this step to prevent any unintended damage to the board or surrounding components. As you lower the board from the ceiling of the car, be mindful of any wires or accessories that may be attached to it, such as interior lights or overhead consoles. Take care to navigate around these elements with precision, minimizing the risk of accidental disconnection or damage. By approaching this task with diligence and attention to detail, you can safely remove the headliner board without compromising the integrity of your vehicle's interior.
6. Replace or Repair
With the headliner board successfully removed, you have the opportunity to address any necessary repairs or upgrades to the interior of your vehicle. If you're opting to replace the fabric, begin by thoroughly cleaning the surface of the headliner board to ensure optimal adhesion for the new material. Use a bristle brush to remove any residual adhesive, foam, or debris that may be present, paying close attention to crevices and edges where buildup is common. Once the board is clean and free of contaminants, it's essential to allow it to dry completely before proceeding to the next step. This ensures that the adhesive used to secure the new fabric will adhere effectively, preventing any potential issues with peeling or bubbling in the future.
When applying the adhesive and attaching the new fabric, precision and attention to detail are paramount for achieving professional-quality results. Begin by evenly applying a thin layer of adhesive to the surface of the headliner board, taking care to spread it evenly and avoid excess buildup. Working methodically, carefully lay the new fabric over the board, smoothing out any wrinkles or air bubbles as you go. Press firmly along the edges and corners to ensure a secure bond between the fabric and the board. Once the fabric is in place, allow the adhesive to cure fully according to the manufacturer's instructions before reinstalling the headliner board into your vehicle. By following these steps diligently and utilizing the appropriate materials and techniques, you can achieve a flawless headliner replacement that enhances the aesthetics and functionality of your car's interior.
7. Reinstall the Headliner Board
With the adhesive dried and the new fabric securely attached to the headliner board, it's time to reassemble the interior of your vehicle. Begin by carefully lifting the headliner board back into its original position, ensuring that it aligns perfectly with the mounting points on the ceiling of the car. Take care to avoid disturbing any wires or accessories that may be attached to the board, guiding it gently into place to prevent any accidental damage. Once the board is properly aligned, secure it firmly by reinstalling the screws or clips that were removed earlier. Utilize a screwdriver or appropriate tool to tighten the fasteners securely, ensuring that the headliner board is firmly in place and will not shift during normal driving conditions.
With the headliner board securely reinstalled, it's time to complete the interior restoration by reattaching all the trim panels, sun visors, seat belts, and other accessories that were removed earlier in the process. Start by carefully positioning each trim panel in its respective location, taking care to align the clips or fasteners properly before pressing them into place. Ensure that all components are securely attached and free from any gaps or misalignment. Similarly, reattach the sun visors, seat belts, and other accessories, ensuring that they are properly secured and functional. By meticulously reassembling the interior components of your vehicle, you can complete the headliner replacement process with confidence, knowing that your car's interior has been restored to its former glory.
8. Final Touches
Before concluding the headliner replacement project, it's imperative to perform a thorough inspection to guarantee that every component has been installed correctly and aligned precisely. Take a moment to scrutinize the headliner board, ensuring it sits flush against the ceiling of the car without any noticeable gaps or misalignment. Carefully examine the trim panels, sun visors, seat belts, and other accessories to verify that they are securely fastened and in their proper positions. Any loose or improperly installed components should be promptly addressed to prevent potential issues while driving.
As the final step, it's essential to test all lights and other accessories to confirm their proper functionality. Switch on the interior lights to ensure they illuminate as expected, checking for any flickering or dimness that may indicate electrical issues. Similarly, test the functionality of any other accessories that were removed or reattached during the headliner replacement process, such as overhead consoles or electronic controls. Conducting these tests provides peace of mind that your car's interior is not only aesthetically restored but also fully operational. By double-checking everything and ensuring that all components are functioning correctly, you can confidently conclude the headliner replacement project, knowing that your vehicle's interior is in optimal condition.
Conclusion
Removing a car headliner is indeed a challenging endeavor, but with proper preparation and attention to detail, it can be accomplished with ease. Before embarking on the task, ensure you have all the necessary tools and materials readily available. Additionally, familiarize yourself with the layout of your vehicle's interior by consulting the transcript for detailed guidance on the specific locations of hidden screws, clips, and electrical connections. This comprehensive approach will equip you with the knowledge and resources needed to navigate the removal process smoothly and efficiently.
As you progress through each step of the headliner removal process, exercise patience and caution to avoid causing any damage to the interior surfaces of your vehicle. Take your time when removing trim panels, peeling away the headliner fabric, and disengaging the headliner board, being mindful of delicate components and wiring that may be attached. Refer to the transcript as needed to ensure accurate execution of each task, and don't hesitate to seek assistance or clarification if any uncertainties arise. With perseverance and attention to detail, you'll be able to successfully remove your car's headliner and embark on the journey of giving your vehicle's interior a fresh new look.
About SYD ROOF LINING
SYD Roof Linings is your premier destination for hassle-free and enduring car roofing solutions. Are you tired of the perpetual cycle of replacing your car roof lining every few years, draining both your time and hard-earned money? We empathize with the frustration of constantly grappling with this issue. Furthermore, the risk of improper installation leading to additional damage only compounds your woes. At SYD Roof Linings, our mission is to provide you with premium, long-lasting roof linings that withstand the test of time.
Our unwavering commitment to quality ensures that you won't have to endure frequent replacements, ultimately saving you valuable time and money. We prioritize reliability and affordability, delivering a solution that keeps your car looking pristine without breaking the bank. With our skilled installation techniques and top-grade materials, bid farewell to the inconvenience of regular roof lining replacements, and rest assured that your vehicle's interior will maintain its charm and structural integrity for years to come. Choose SYD Roof Linings for a smarter, more durable roofing solution, and experience a marked difference in quality and longevity.


The leading provider of car roof lining repair and replacement across Sydney NSW.